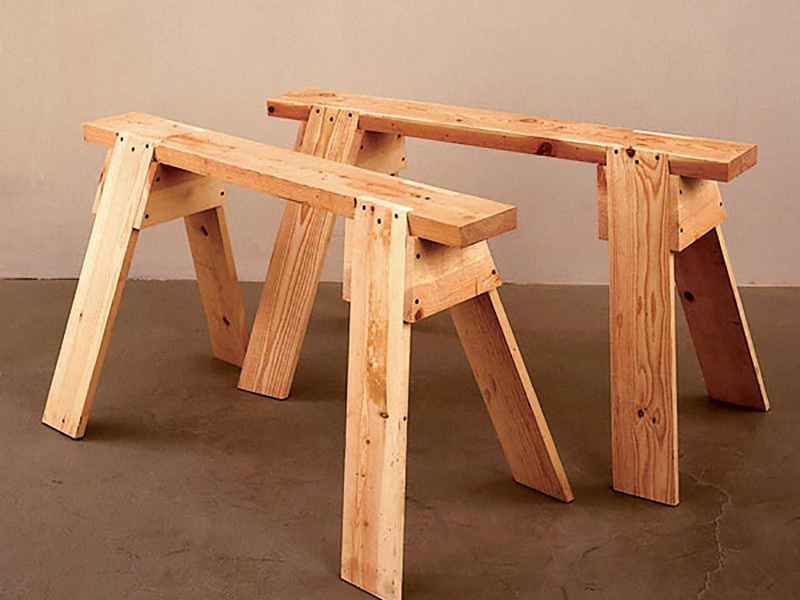
A sawhorse, also called a trestle or trestle bench, is an essential tool for carpenters and DIYers alike. Its simple design makes it incredibly versatile, whether you’re using it as a work platform, makeshift scaffolding, or a sturdy table base. While you can buy pre-made sawhorses, crafting your own gives you the freedom to customize and ensures it’s built to last. This guide will take you through every step of building a high-quality sawhorse, blending timeless techniques with practical advice.
What Is a Sawhorse?
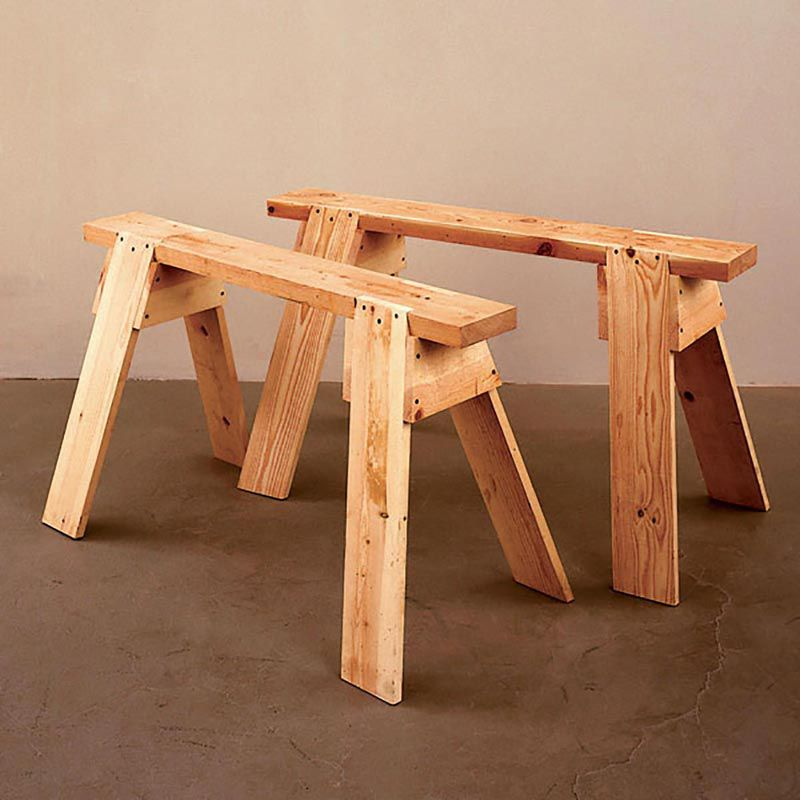
A sawhorse is a four-legged structure designed to support wood or other materials during sawing or other tasks. Despite its simplicity, the design offers remarkable stability and portability. Modern sawhorses have evolved to include added features, but their core purpose remains the same: providing a reliable, stable surface for various projects.
Why Build Your Own Sawhorse?
While store-bought sawhorses are convenient, making your own offers several benefits:
- Custom Design: Tailor the height and width to suit your unique needs.
- Cost Savings: Use leftover materials, minimizing costs.
- Skill Development: Sharpen your woodworking abilities with a practical project.
- Durability: Ensure it’s built to withstand heavy use.
Materials and Tools You’ll Need
Before starting, gather the following materials and tools for your project:
- Materials
- 2×4 or 2×6 lumber for the cross beam
- Plywood scraps for gussets
- Nails, screws, and wood glue
- Optional: 1×12 board for a shelf, 1×2 strips for shelf edges
- Tools
- Handsaw or circular saw
- Chisel and hammer
- Framing square and combination square
- Sliding T-bevel
- Measuring tape
Step 1: Plan the Dimensions
Most sawhorses are around 24 inches tall, making them roughly knee-high, but you can adjust the height depending on your needs. For example, low horses are about 12 inches tall and work well for ceiling projects or compact tasks, while high horses have taller legs for scaffolding or elevated work. Choose a length of approximately 42 inches for the cross beam to ensure stability and portability.
Step 2: Prepare the Cross Beam
The cross beam serves as the backbone of your sawhorse. Here’s how to prepare it:
- Select a straight, sturdy piece of lumber.
- Cut the beam to the desired length, typically 42 inches.
- Mark the positions for the legs, ensuring equal spacing for balance.
Step 3: Cut Mortises for the Legs
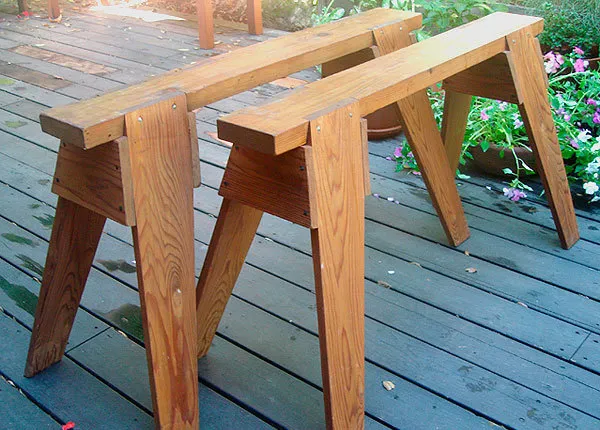
Mortises ensure the legs fit securely into the cross beam. Follow these steps for precision:
- Mark mortises 4 inches from each end of the beam.
- Use a saw to make parallel cuts within the marked area.
- Chisel out the wood between the cuts to create snug slots for the leg tops.
Step 4: Cut and Shape the Legs
The legs must splay outward to provide stability. Use the “4-in-24” method to calculate the angle of the splay, ensuring an optimal spread. Cut the legs longer than the final height, around 26 inches, to accommodate angled cuts. Make sure the top and bottom cuts of the legs form compound angles for a perfect fit.
Step 5: Attach the Legs
Secure the legs into the mortises with wood glue and nails.
- Apply glue to the rear wall of each mortise.
- Insert the leg, ensuring it fits snugly.
- Nail the legs into place using 8d nails to reinforce the structure.
Adding Stability with Gussets and Shelves
Reinforce the Design with Gussets
Trapezoidal gussets made from plywood provide additional support. Cut the gussets to match the angle of the legs and attach them to the legs and cross beam using glue and screws. This will significantly improve the strength and stability of the sawhorse.
Add an Optional Shelf for Extra Utility
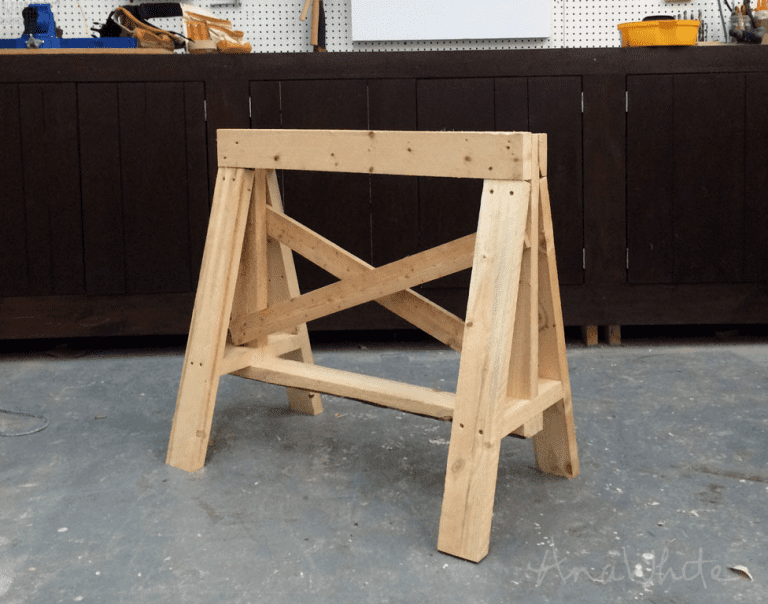
For added functionality, incorporate a shelf between the legs. Use a 1×12 board for the shelf and secure it with 1×2 strips along the edges to prevent tools from sliding off. This feature not only increases stability but also offers a convenient place to store tools during your projects.
Tips for a Professional Finish
- Check the stability of the sawhorse by placing it on a flat surface to ensure it doesn’t wobble.
- Protect the cross beam by adding a layer of scrap plywood on top to absorb saw cuts.
- Use proper screws or nails for structural elements, avoiding drywall screws which can snap under pressure.
Common Mistakes to Avoid
- Ensure leg angles are accurate to maintain proper balance and stability.
- Avoid loose mortises as they can compromise the integrity of the sawhorse.
- Don’t overload the sawhorse; reinforce it if you plan to use it for heavy-duty tasks.
Why a Well-Made Sawhorse Matters
A sturdy sawhorse is more than just a tool—it’s an investment in safety and efficiency. Whether you’re cutting wood, painting, or tackling a home improvement project, a well-built sawhorse ensures stability and versatility. By constructing one yourself, you’re creating a reliable partner for years of woodworking tasks.
Conclusion
Building a sawhorse is a rewarding project that blends practicality with craftsmanship. With the right materials, tools, and a little attention to detail, you can create a customized sawhorse that suits your specific needs. Its simplicity belies its importance, as this humble tool remains indispensable for both professional and hobbyist woodworkers. So grab your tools and start building—it’s time to create a sawhorse that will stand the test of time!
